15 Minimalist Henna Designs That Are Easy and Elegant
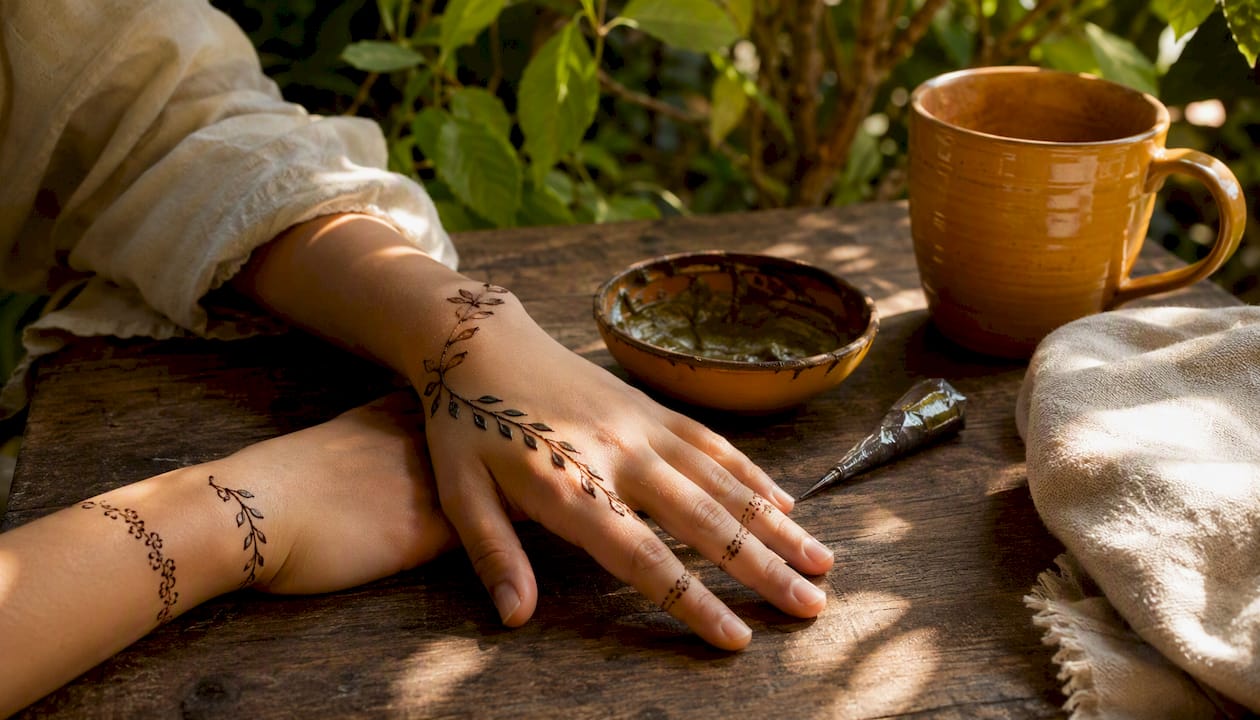
Eight designs stand out as the best starting points for anyone exploring minimalist henna: the single vine, fingertip caps, wrist bracelet band, small mandala or palm circle, paisley with dots, finger trail, tiny floral chain, and geometric chevrons. Each one is quick to apply, dries faster than full-coverage bridal mehndi, and photographs beautifully because negative space does most of the visual work.
Here is where each one shines:
Single vine — runs along the side of a finger or forearm; perfect for everyday wear
Fingertip caps — covers just the tip of one or two fingers; ideal for festivals or photoshoots
Wrist bracelet band — wraps the wrist like a delicate cuff; great for weddings or brunches
Small mandala or palm circle — sits at the center of the palm; a focal point for maternity or bridal looks
Paisley with dots — fits on the back of the hand or ankle; suits both casual and formal occasions
Finger trail — a thin line of dots or leaves running the length of one finger; subtle and modern
Tiny floral chain — links across two or three fingers; pairs well with stacking rings
Geometric chevrons — angular stripes on the wrist or forearm; a strong choice for anyone who struggles with curves
Simple henna patterns like vines, dot work, and mandalas are among the most beginner-friendly motifs available, and they translate just as well to casual wear as to bridal minimalism.
Key Takeaways
Minimalist henna designs work because negative space and a single repeated motif do more visual work than a dense pattern ever could.
Point | Details |
Start with three motifs | Single vine, fingertip cap, and wrist bracelet band are the best first designs for beginners. |
Aftercare is non-negotiable | Leave paste on 6–8 hours, avoid water for 24 hours, and apply coconut oil after removal to deepen the stain. |
Use natural cones only | Never use black henna (PPD); patch test 24 hours before any full application. |
Practice one element daily | Seven days of focused drills — dots, leaves, single motifs, combos — builds control faster than random sessions. |
Hennaforfun for supplies and lessons | Handmade cones, DIY kits, stencils, and private lessons are available for safe, guided practice. |
Table of Contents
What you need for minimalist henna: tools, materials, and safety
Aftercare: how to make your henna stain darker and last longer
A beginner practice routine and the most common mistakes to avoid
Why professionals recommend minimalist henna and what Henna For Fun offers
Hennaforfun makes it easy to go from inspiration to application
15 minimalist henna designs to try right now
These fifteen motifs cover the full range of small, elegant looks, from a single dot cluster to a half-mandala corner. Each entry includes a one-line drawing cue and a placement suggestion so you can pick one and start today. Tiny aesthetic henna designs like these suit both western and eastern outfits, which is part of why they have become a go-to for stylists and everyday wearers alike.
Single vine — Draw a gently curving stem, then add small teardrop leaves alternating left and right. Best on the side of a finger or along the inner forearm.
Fingertip caps — Fill the fingertip with a rounded cap of paste, then edge it with a row of tiny dots. Striking on the index or middle finger; pairs with minimalist nail art.
Small mandala or palm circle — Start with a center dot, build five or six petals outward, add a ring of dots around the edge. Center of the palm or back of the hand for a focal-point look.
Half-mandala corner — Draw a fan of petals from one corner point, curving outward like a quarter-circle. Base of the thumb or inner wrist corner; frames the hand without covering it.
Paisley with dots — Outline a teardrop shape, curve the tip, fill the interior with a single dot, scatter three dots around it. Back of the hand, ankle, or shoulder blade.
Fingertip rings — Pipe a thin band around the base of a finger, add a tiny leaf or dot accent on top. Any finger; looks intentional next to actual rings.
Small floral chain — Draw three five-petal flowers connected by a thin curved stem. Across two or three fingers or along the wrist.
Geometric chevrons — Pipe parallel V-shapes in a row, keeping spacing even. Wrist band or forearm strip; beginner-friendly because straight lines are easier to control.
Negative-space stripes — Apply two parallel lines of paste, leaving a clean gap between them; add dot accents at each end. Wrist or ankle; the bare skin becomes part of the design.
Thumb-only charm — A single small motif (leaf, star, or teardrop) centered on the thumb pad. Thumb; subtle enough for office settings.
Wrist bracelet band — A continuous thin band of repeating dots, leaves, or dashes that wraps the wrist. Wrist; the simplest way to mimic a delicate bracelet.
Sun and rays — A small circle with eight short straight lines radiating outward, dot at each ray tip. Back of the hand or ankle; clean and graphic.
Tiny shell — A tight spiral that opens into a curved fan of lines. Side of a finger or behind the ear.
Dot cluster — Seven to nine dots arranged in a loose diamond or triangle. Fingertip, wrist corner, or ankle; the fastest motif to apply.
Single-stem leaf — One curved stem with three to five leaves, each drawn with a single stroke. Inner forearm or side of the wrist; elegant in its simplicity.
How to draw five easy minimalist motifs step by step
Beginner-friendly motifs like paisleys, vines, and leaves build the core muscle memory you need for almost every minimalist design. Five tutorials follow, each broken into numbered steps you can follow while holding a cone.
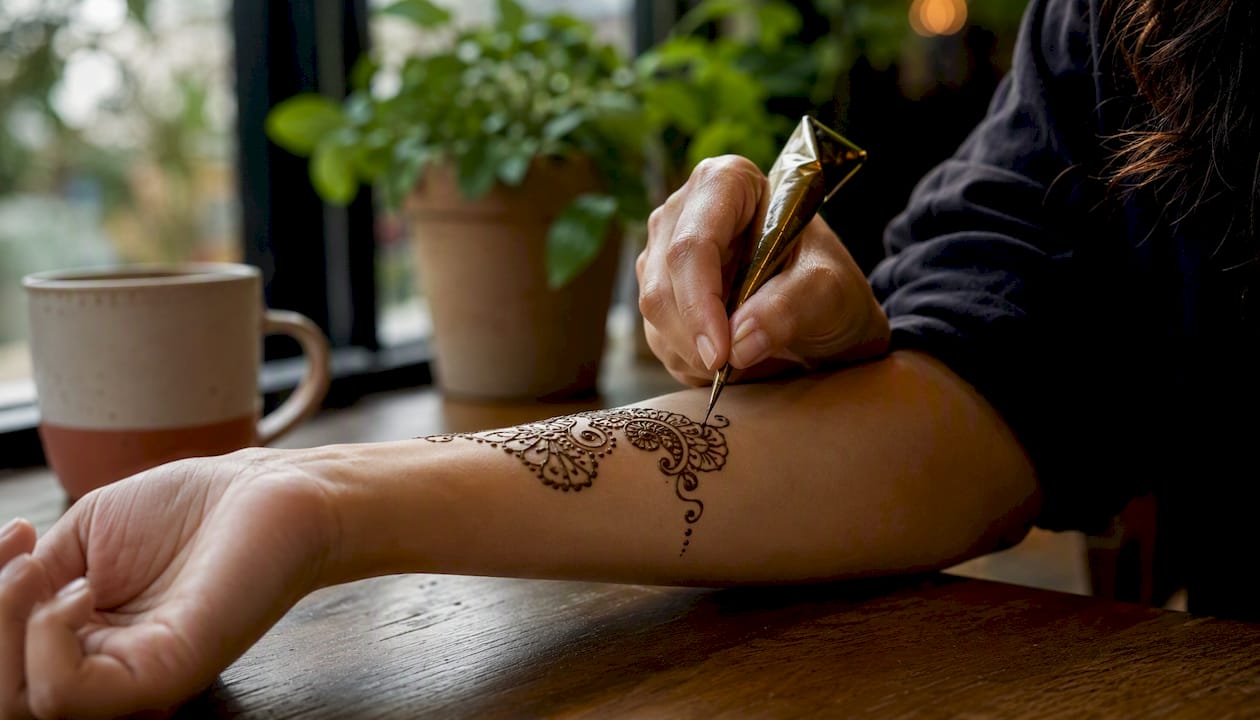
Pro Tip: Hold the cone like a pen, resting it between your index finger and thumb, with your middle finger guiding from below. Squeeze from the top of the cone, not the middle, and keep the tip about 2–3 mm above the skin so the paste flows without dragging.
1. Single vine
A continuous curving stem with alternating leaves — the foundation of most minimalist henna work.
Touch the cone tip to the skin and pipe a gently S-curved line about 3 inches long.
At every half-inch along the stem, add a small teardrop leaf: press lightly, pull the tip to a point, release.
Alternate leaves left and right so the vine feels balanced.
Finish with a tiny dot at the stem’s end.
Variation: Add a small five-petal flower at the midpoint of the vine for a floral vine look.
Practice drill: Draw 10 vines on paper, then 5 on a friend’s forearm. Focus on keeping the stem curve consistent.
2. Fingertip cap
A rounded fill at the fingertip that looks polished with almost no drawing skill required.
Starting at one side of the fingertip, pipe a curved line across the top, like a crescent.
Fill the space below the crescent with short parallel strokes or a solid fill of paste.
Once the fill is set (about 30 seconds), pipe a row of tiny dots just below the crescent edge.
Let it sit undisturbed for at least 30 minutes before touching.
Variation: Leave a small negative-space dot in the center of the fill for a modern look.
Practice drill: Cap all five fingertips on one hand, then compare the consistency of the crescent edge across each one.
3. Small mandala or palm circle
A radial design that looks complex but is built from one repeated unit.
Place a single dot at the center of your palm.
Pipe five or six short curved petals around the dot, evenly spaced like a clock face.
Add a second ring of smaller petals between the first ones, slightly farther out.
Pipe a ring of dots around the outer edge to frame the whole motif.
Variation: Replace the outer dot ring with a thin continuous circle for a cleaner, more geometric look.
Practice drill: Draw the mandala on paper five times, rotating the paper 60 degrees between each attempt to train your hand at different angles.
4. Wrist bracelet band
A repeating pattern that wraps the wrist — the easiest way to create a finished, jewelry-like look.
Start at the inner wrist and pipe a thin horizontal line across to the outer wrist.
Directly below that line, pipe a row of evenly spaced dots.
Below the dots, add a second thin line to close the band.
Connect the two ends at the back of the wrist with a small leaf or dot accent.
Variation: Replace the dot row with tiny chevrons or dashes for a geometric bracelet effect.
Practice drill: Practice the band on your own wrist five times using a practice cone filled with toothpaste or body lotion to build pressure control before using real henna.
5. Tiny floral chain
Three small flowers linked by a stem, designed to run across two or three fingers.
Draw a thin curved stem starting at the base of the index finger, crossing the knuckle, and ending at the middle finger’s first joint.
At three points along the stem, pipe a five-petal flower: one center dot, five short strokes radiating outward.
Add two or three dot accents between each flower.
Finish with a small leaf at each end of the stem.
Variation: Extend the chain across four fingers for a more dramatic festival look.
Practice drill: Repeat one small element — just the five-petal flower — ten times in a row on paper until the spacing and pressure feel automatic. Then connect them with the stem.
What you need for minimalist henna: tools, materials, and safety
Getting the tools right matters more than most beginners expect. A cone with paste that is too runny will bleed into the skin and blur fine lines. One that is too stiff will skip and break. Here is what to have on hand before you start.
Essential supplies
Pre-made natural henna cones — the fastest way to start; look for cones made with pure henna powder, lemon juice, and essential oils (no added chemicals)
One-use applicator bottles — useful for filling larger areas; harder to control for fine lines than a cone
Beginner-friendly stencils — adhesive stencils let you trace a motif cleanly while you build hand control; DIY henna stencils are a practical shortcut for the first few sessions
Transfer pens — trace a design onto skin before applying paste, so you have a guideline to follow
Small scissors — to snip the cone tip to the exact opening size you need (smaller = finer lines)
Medical tape — to seal the cone tip between uses and keep paste from drying out
Cotton swabs — for cleaning up edges or wiping a smudge before the paste sets
Coconut or olive oil — applied after paste removal to deepen and protect the stain
Cone vs. bottle vs. pen: which one to use
Tool | Best for | Line control | Cleanup |
Henna cone | Fine lines, detail work, all motifs | High | Wipe tip with tissue |
Applicator bottle | Filling large areas, thick bands | Medium | Rinse tip with warm water |
Henna pen | Quick touch-ups, very thin lines | Medium | Cap immediately after use |
For minimalist designs, the cone wins every time. The narrow tip gives you the control you need for dot work, leaf edges, and the thin lines that make small motifs look intentional rather than smudged.
Safety: black henna and allergy testing
Never use black henna. Black henna paste contains para-phenylenediamine (PPD), a chemical dye that can cause severe allergic reactions, chemical burns, and permanent scarring. Natural henna paste is reddish-brown when wet and stains orange-to-dark-brown on skin. If a product promises a black stain within minutes, put it down.
Before any full application, do a patch test:
Apply a small amount of paste to the inner forearm or behind the ear.
Leave it on for 30 minutes, then remove and wait 24 hours.
If you see redness, swelling, or itching, do not proceed with a full application.
Aftercare: how to make your henna stain darker and last longer
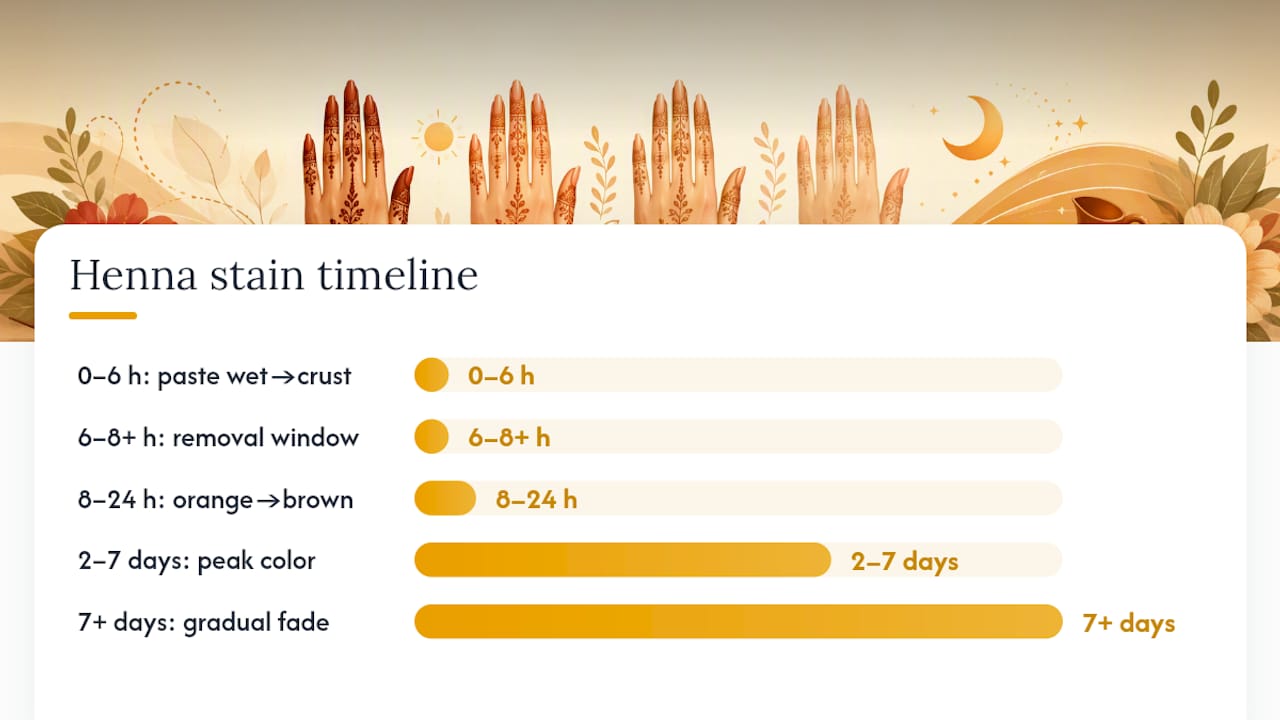
Keep the paste on for as long as possible, ideally 6–8 hours or overnight, and let it set for about 24 hours before wetting the area. Most henna designs last up to around two weeks depending on skin type and how well you care for the stain in the first 48 hours.
Stain timeline
Stage | What happens |
Hours 0 to a couple of | Paste is wet; keep the area still and warm |
Hours 2–6 | Paste dries to a crust; apply a lemon-sugar sealant to keep it moist |
Hours 6–8+ | Ideal removal window; scrape paste off gently, do not wash |
Hours 8–24 | Stain is orange; oxidation darkens it to brown over the next day |
Days 2–7 | Stain reaches peak color; darkest around day 3 |
Days 7 and onwards | Gradual fade as the outer skin layer exfoliates |
For a deeper look at timing, how long to leave henna on skin covers the full breakdown by skin type and placement.
Dos and don’ts
Do scrape the paste off with a butter knife or the edge of a credit card rather than washing it off
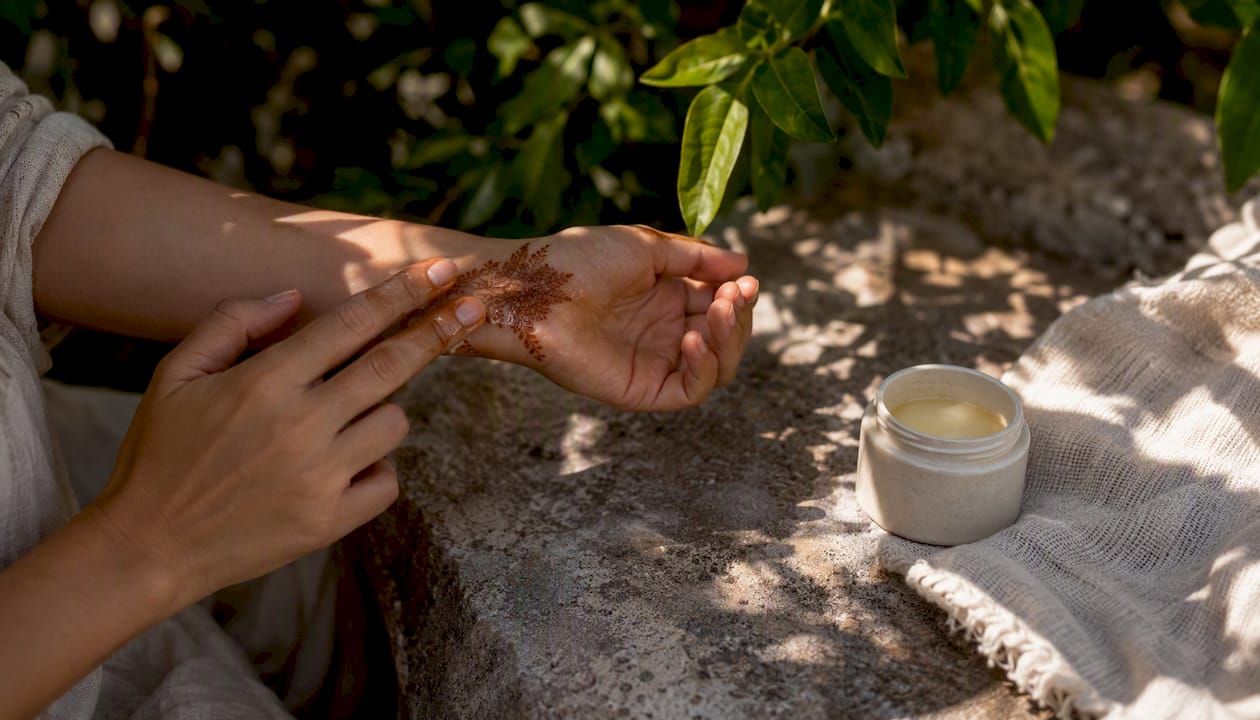
Do apply coconut or olive oil immediately after removing the paste to lock in moisture and deepen the stain
Do keep the area warm during the setting period (body heat helps the dye bond)
Don’t wet the area for at least 12 hours after paste removal, and avoid soap on the design for the first 24 hours
Don’t swim in chlorinated water for the first 48 hours; chlorine strips the stain faster than anything else
Don’t scrub the design when washing; pat dry instead
Pro Tip: After scraping the paste, rub a small amount of coconut oil into the design and wrap it loosely with medical tape overnight. The oil keeps the skin from drying out and the warmth under the wrap deepens the stain noticeably by morning. For more strategies, the guide on how to make henna stain darker is worth bookmarking.
Minimal mehndi designs also fade more evenly than dense full-hand patterns, which means they look intentional even in the last few days before they disappear completely.
Where minimalist designs look best and how to style them
Placement shapes how a design reads. A tiny mandala on the palm center reads as a statement; the same motif on an ankle reads as an accent. Choosing the right spot is half the styling decision.
Fingertips — subtle and modern; visible when you gesture but not overwhelming; pairs with matte or nude nail polish so the henna stays the focal point
Wrist — the bracelet effect works with thin stacking rings and delicate chain bracelets; leave a small gap between the henna band and any metal jewelry so neither competes
Palm center — a strong focal point for maternity photos, bridal portraits, or any shoot where the hand is featured; negative space around the mandala makes it pop
Forearm — a vine or floral chain running 3–4 inches up the inner forearm reads as intentional body art; pairs well with short sleeves or off-shoulder tops
Ankle — works beautifully for barefoot beach events, outdoor weddings, or summer festivals; a bracelet band or paisley sits just above the ankle bone
Behind the ear or shoulder — unexpected placements that photograph well from certain angles; a tiny shell or single leaf here reads as effortlessly cool
Styling pairings that work
Minimalist henna and thin stacking rings are a natural combination. The henna fills the visual space between rings without competing with them. Negative-space stripe designs on the wrist pair especially well with matte nail polish because the contrast between the bare skin gap and the henna lines mirrors the contrast between matte and skin tone.
For photos, minimal designs photograph well because the negative space frames the motif and prevents the design from reading as a dark blob at a distance. Photographers working on editorial or pre-wedding shoots often request minimal mehndi for exactly this reason.
Sizing note: On smaller hands, keep motifs under 1.5 inches across. On larger hands, you can push to 2 inches before a “minimalist” design starts to feel heavy. When in doubt, go smaller — a tiny motif on a large hand reads as intentional restraint, not a mistake.
A beginner practice routine and the most common mistakes to avoid
The fastest way to improve is a structured daily drill, not random practice. Short daily sessions built around one element at a time make small designs look cohesive even when lines are still imperfect.
7-day practice plan
Day 1 — Dots and straight lines: pipe rows of evenly spaced dots, then straight horizontal and vertical lines. Focus on consistent pressure.
Day 2 — Curved lines and leaves: practice S-curves and teardrop leaves. Draw 20 leaves, aiming for a clean pointed tip on each one.
Day 3 — Single motifs: draw one five-petal flower ten times. Then draw one paisley ten times.
Day 4 — Half-mandala: build a fan of petals from a corner point; repeat five times, rotating your paper.
Day 5 — Fingertip work: practice fingertip caps and fingertip rings on your own fingers or on a practice hand.
Day 6 — Combinations: connect a vine to a flower to a dot cluster; draw the full sequence five times without lifting the cone.
Day 7 — Review and repeat your weakest element from the week. Then draw one complete design from start to finish.
Common mistakes and quick fixes
Too much paste at once — the tip floods and the line spreads. Fix: snip a smaller opening in the cone tip and squeeze more gently.
Uneven pressure mid-stroke — lines go thick-thin-thick. Fix: practice short strokes (1 inch at a time) rather than long continuous pulls.
Moving the hand being decorated — smears wet paste. Fix: rest the decorated hand on a flat surface and ask the person to keep it still; set a timer so they know how long to hold.
Paste drying in the tip — flow stops mid-line. Fix: wipe the tip with a tissue every few minutes; keep a damp cloth nearby.
Uneven stain after removal — some areas are lighter. Fix: those spots likely had thinner paste or dried out too fast; apply the lemon-sugar sealant more generously next time.
Pre-session checklist
[ ] Patch test completed at least 24 hours before
[ ] Skin clean, dry, and free of lotion or oil
[ ] Cone warmed between palms for 2 minutes
[ ] Tip snipped to the correct size
[ ] Tissue and cotton swabs within reach
[ ] Timer set for paste removal
Pro Tip: When the cone feels stiff, warm it between your palms for 60–90 seconds before squeezing. Cold paste resists flow and causes the uneven pressure that makes lines wobble. A warm cone is the single fastest fix for shaky lines.
Why professionals recommend minimalist henna and what Henna For Fun offers
Professionals gravitate toward minimalist designs for three practical reasons: they apply in 10–20 minutes per hand, they dry faster than dense full-coverage work, and they photograph cleanly at any distance. At events where a henna artist is working a line of guests, a well-executed minimal motif is more impressive than a rushed complex one.
Minimalist henna is not the “easy way out” — it is the disciplined choice. Knowing which lines to leave out is harder than filling every inch of skin. The artists who do it well have usually spent more time practicing restraint than complexity.
Hennaforfun brings this approach to every service it offers:
Whenna Events — interactive henna experiences at wineries, homes, and corporate venues where guests receive fresh designs from a professional artist
Pregnancy henna sessions — personalized belly designs for maternity photoshoots and baby showers, using only natural, pregnancy-safe henna
Handmade henna cones — small-batch cones made with pure ingredients, no PPD, no synthetic additives
DIY henna kits — complete starter sets with cones, stencils, and instructions for practicing at home
For anyone who wants to learn henna from the beginning, a structured class is the fastest path from shaky first lines to designs you are proud to wear.
What minimalism taught me about henna
Minimal designs were the first thing I fell in love with in henna art, and they remain the hardest to teach well. There is nowhere to hide a wobbly line when the whole design is three leaves and a dot. That constraint is what makes it such a good teacher. When I work with beginners, I always start here, not because it is simple, but because it is honest. If you want to try these looks with guidance, a private lesson or a DIY kit from Hennaforfun is the most direct way to start.
Hennaforfun makes it easy to go from inspiration to application
Safe supplies and hands-on instruction are the two things most beginners are missing, and Hennaforfun covers both. Whether you want to practice at home or have a professional apply a design at your next event, the options are straightforward: grab a handmade henna cone and a set of beginner stencils to start on your own, or book a private lesson for structured, in-person coaching on the exact motifs covered in this article.
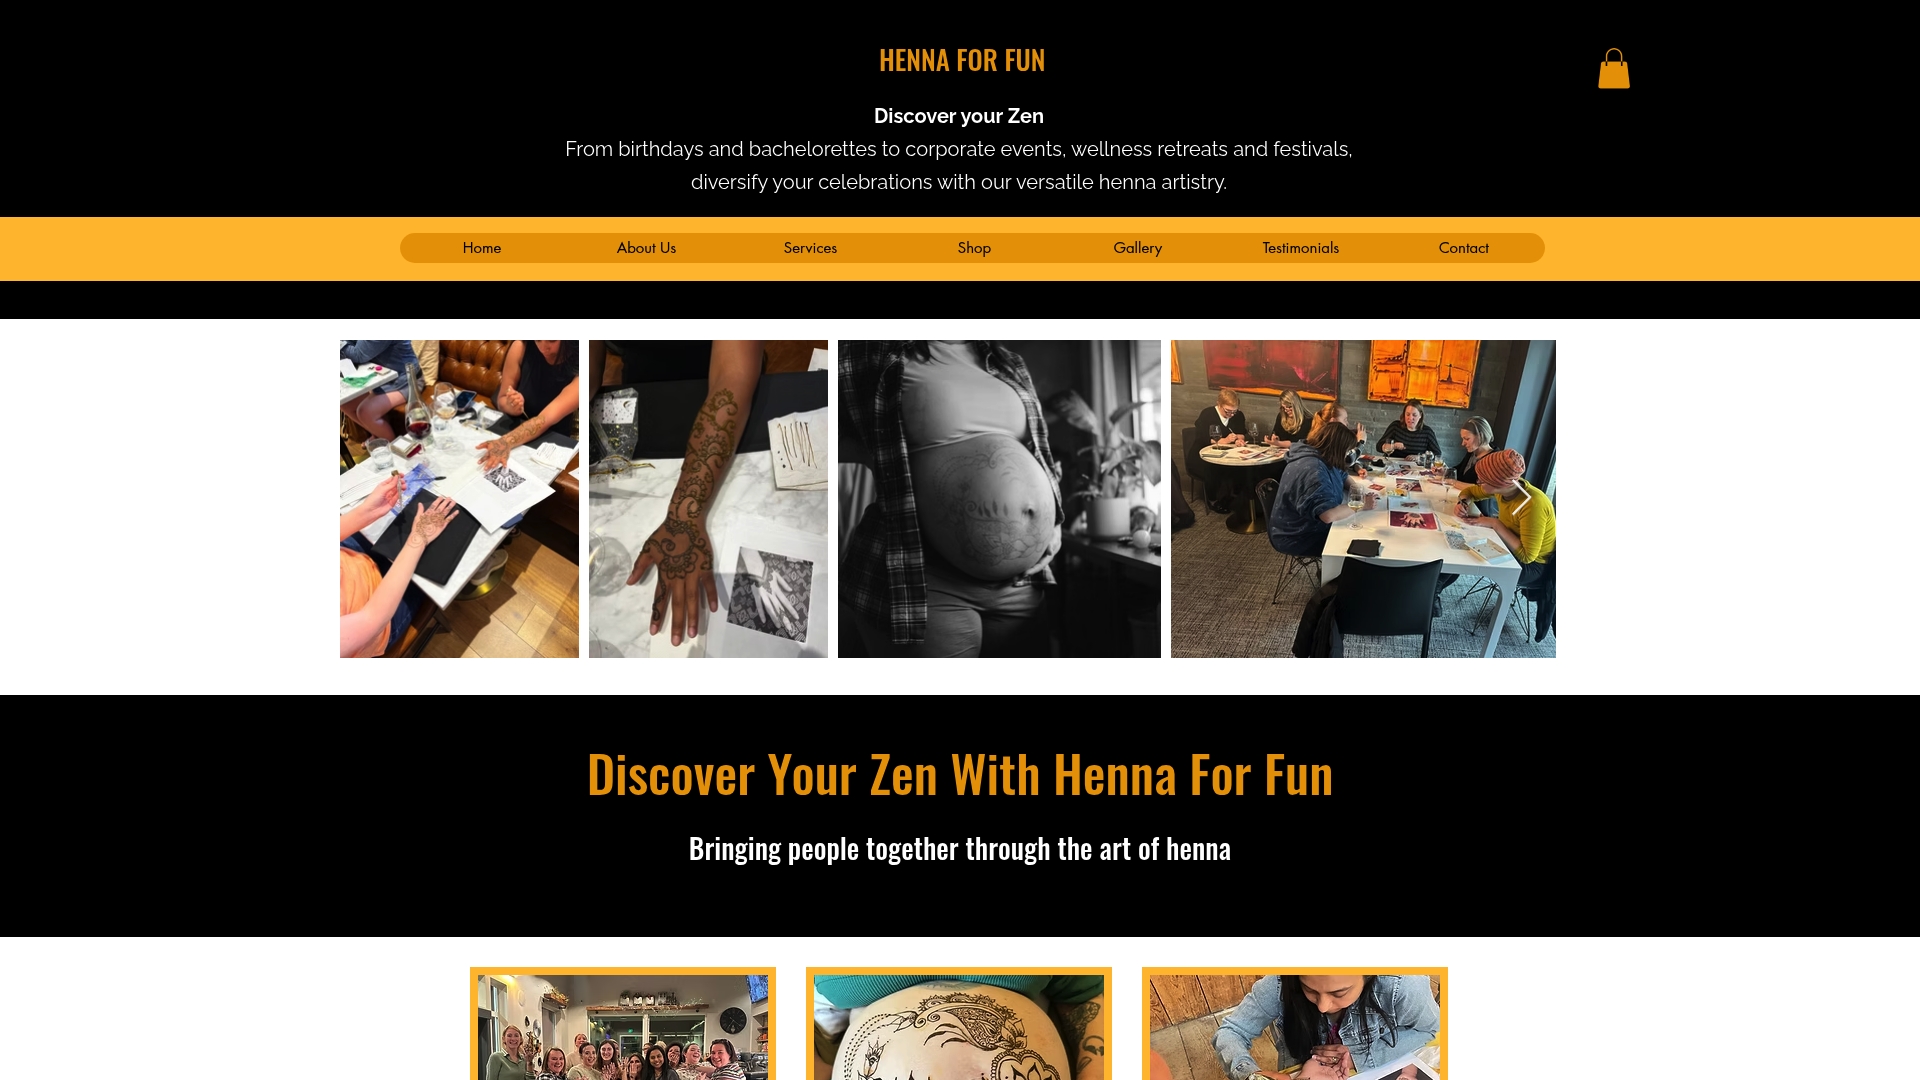
For a complete starter setup, the DIY henna kit includes everything in one package: cones, stencils, and step-by-step instructions, all made with natural ingredients. If you would rather experience henna at a live event, check the upcoming calendar for Whenna Events near you in the Seattle and Snohomish area. Ready to book? Visit Hennaforfun’s services page to see current availability and reserve your session.
Sources
Recommended
Comments